Authoring geometry
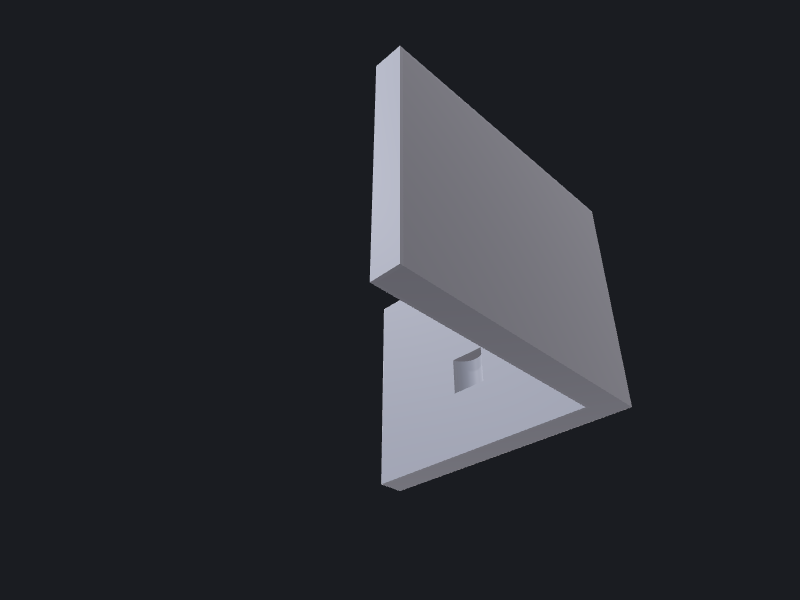
This page walks through building a real part end-to-end with the OCCTSwift API: sketch a profile, extrude it to a solid, round the inside corner, then drill mounting holes. The worked example is recipe 01 — mounting bracket.
For full API details see the script harness reference.
The part
An L-shaped mounting bracket — two equal legs, a rounded inside corner, four through-holes (two per leg). Five parameters drive everything:
| Parameter | Default | Description |
|---|---|---|
legLength | 50 | Length of each leg from the heel (mm) |
thickness | 5 | Material thickness of each leg (mm) |
width | 40 | Extrusion depth / bracket width (mm) |
filletRadius | 8 | Inside-corner radius (mm) |
holeRadius | 3.5 | Mounting-hole radius (mm) |
Step 1 — Sketch the cross-section (Wire.polygon)
The L profile lives in the XY plane. Six vertices define it; the seventh closes back to the origin implicitly. The reentrant (inside) corner sits at (thickness, thickness).
import OCCTSwift
import ScriptHarness

let legLength: Double  = 50
let thickness: Double  = 5
let width: Double      = 40
let filletRadius: Double = 8
let holeRadius: Double   = 3.5

let ctx = ScriptContext(metadata: ManifestMetadata(
    name: "Mounting bracket",
    source: "OCCTSwiftScripts recipe 01",
    tags: ["bracket", "L-bracket", "fillet", "holes"]
))
let C = ScriptContext.Colors.self

// L-shaped cross-section (XY plane). The inside corner is at (thickness, thickness).
let lProfile = Wire.polygon([
    SIMD2(0, 0), SIMD2(legLength, 0), SIMD2(legLength, thickness),
    SIMD2(thickness, thickness),          // ← reentrant inside corner
    SIMD2(thickness, legLength), SIMD2(0, legLength),
])!
Wire.polygon returns Wire? — the force-unwrap is fine here because the coordinates are compile-time constants. In production code prefer guard let.
Step 2 — Extrude to a solid (Shape.extrude)
let prism = Shape.extrude(profile: lProfile, direction: SIMD3(0, 0, 1), length: width)!
Shape.extrude returns Shape?. The direction vector need not be unit-length; OCCT normalises it. The result is a closed solid prism ready for modification.
Step 3 — Fillet the inside corner (concaveEdges + filleted)
Fillet before drilling. concaveEdges() classifies every concave edge on the solid. After drilling, the rim of each hole can read as concave too, so the selection would pick up four extra edges and produce a misleading or failed fillet. Filleting the fresh prism keeps the selection to just the one reentrant corner.
var bracket = prism.filleted(edges: prism.concaveEdges(), radius: filletRadius) ?? prism
filleted(edges:radius:) returns Shape?; the ?? prism fallback keeps the script runnable if the fillet degenerates (e.g. filletRadius exceeds legLength − thickness). concaveEdges() is geometry-based — it tracks the corner as parameters change, with no fragile edge-index bookkeeping. Pass concaveEdges(angle:) to tighten the threshold if a near-flat junction sneaks in.
Step 4 — Drill four through-holes (Shape.drilled)
Two holes go through the base leg (drilled along +Y); two go through the upright leg (drilled along +X).
Why overshoot? Each drill origin sits 1 mm outside the entry face and depth exceeds the leg thickness by 2 mm. Drilling exactly on a face can leave a coincident-face sliver; starting outside and over-running the exit guarantees a clean through-cut.
// Base-leg holes: start at Y = –1, run through thickness (5 mm) + 2 mm overshoot.
let base1 = SIMD3(legLength * 0.55, -1.0, width * 0.30)
let base2 = SIMD3(legLength * 0.55, -1.0, width * 0.70)
// Upright-leg holes: start at X = –1, same overshoot logic.
let up1   = SIMD3(-1.0, legLength * 0.55, width * 0.30)
let up2   = SIMD3(-1.0, legLength * 0.55, width * 0.70)

bracket = bracket.drilled(at: base1, direction: SIMD3(0, 1, 0), radius: holeRadius, depth: thickness + 2)!
bracket = bracket.drilled(at: base2, direction: SIMD3(0, 1, 0), radius: holeRadius, depth: thickness + 2)!
bracket = bracket.drilled(at: up1,   direction: SIMD3(1, 0, 0), radius: holeRadius, depth: thickness + 2)!
bracket = bracket.drilled(at: up2,   direction: SIMD3(1, 0, 0), radius: holeRadius, depth: thickness + 2)!
drilled returns Shape?. Force-unwrapping is acceptable when the geometry is known-good; use guard let if you are working with user-supplied parameters.
Step 5 — Emit
try ctx.add(bracket, color: C.steel, name: "Mounting bracket")

print("Bracket volume: \(bracket.volume ?? 0) mm³")
try ctx.emit(description: "L-bracket — \(legLength)mm legs, \(width)mm wide, 4× Ø\(holeRadius * 2) holes")
ctx.emit() writes the BREP/STEP/manifest bundle that the occtkit run harness picks up. bracket.volume is Double? (nil for non-solids or analysis failures) — the null-coalesce keeps the print from crashing on a degenerate result.
Running the recipe
swift run occtkit run recipes/01-mounting-bracket/main.swift --format brep
To keep the live-viewport loop running during development, see Script iteration. The --format brep flag writes body-0.brep; swap for --format step to produce an exchangeable STEP file.
Full script
The complete, unabbreviated script is recipes/01-mounting-bracket/main.swift.
Key takeaways
- Sketch in 2D, extrude to 3D.
Wire.polygon→Shape.extrudeis the fundamental authoring loop. Keep the cross-section in the XY plane and extrude along Z for predictable orientation. - Fillet before drill.
concaveEdges()finds every reentrant edge; apply topology- modifying operations that depend on edge classification before adding more concave geometry (drilled rims, pockets). - Overshoot the drill. Origin outside the entry face +
depth > leg thickness= clean cut faces with no coincident-face artifacts. - Fallible factories are the rule.
Wire.polygon,Shape.extrude,filleted, anddrilledall return optionals. Guard or?? fallbackat each step; anilmid-chain silently discards the rest.
See also
- Script iteration — the edit → build → live-viewport loop
- Sweeps, lofts & patterns — helix sweeps, lofts, linear/circular patterns
- Script harness reference — full API surface